In 2020, more than 80% of consumers made online purchases. In South America and Asia, this number was close to 90%.
And even though the majority of the global population was familiar with online shopping prior to the pandemic, lockdowns and massive restrictions forced around 5% of consumers in Canada to make their first-ever purchase online. The first-time online shoppers in Germany were fewer in number but still quite significant – 2%.
All these numbers prove one thing: online retail is now as strong as ever.
New online businesses emerge daily, and all of them are looking for a payment service provider (PSP). So, if you’re considering entering the market and becoming a PSP, now is your chance!
This article will explain how you can easily become a payment service provider with the right white-label payment solution and start making money on processing within the next several months or even weeks.
You might also like How to launch a PSP with zero development cost
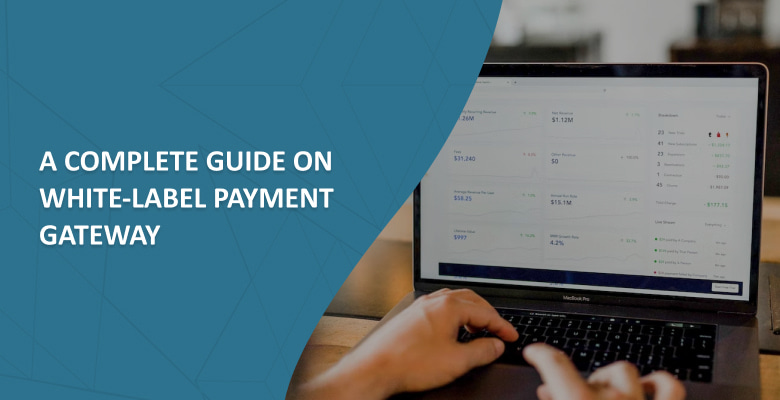
What’s a white-label payment platform?
A white-label payment platform is a software facilitating payment processing that one can legally resell as his own. “White label” in the name indicates that after you purchase and set up the system, you can use your company’s branding and style guidelines to completely revamp system design which only serves as a placeholder. Typically, one can change the logo, payment page URLs, and colors of the admin panel.
A white-label payment system requires no development cost as both the development and maintenance of the gateway is 100% the white-label payment processing provider’s responsibility. Thus, their customers save up to USD 500K on the development alone. You can find out more about the real numbers from this article here, where we go into the details and explain how much it would cost your company to build a payment platform from scratch.
How to start a white-label PSP
We’ve created a step-by-step guide for you explaining the process of becoming a white-label PSP with Akurateco. We’ve explained every single step of the way. And although it looks like a long process, don’t fret: in reality, we keep it sweet and short. So, here goes:
Apply.
The first and the easiest. To get started, we ask our clients to fill out this form or reach out to us via any other means of communication, mentioning the answers to the questions from it.
Wait for the qualification.
We aim to process your application within one business day with certain exceptions. At this stage, we analyze the need of a decision-maker behind each application – and inform those seeking payment processing that we’re not offering this service and, therefore, won’t be proceeding with their inquiry.
Book a Free Demo of the system.
As long as you’re looking for a white-label payment solution, we’ll move on to the next stage: scheduling a demo of our system. During this demo, we look into the specific needs of your business and help you identify which white-label solution will best fit your needs – a conventional white-label platform, a white-label system “on-premise,” or Cashier.
Examine the commercial proposal.
Next, we’ll craft the commercial proposal and send it to you for examination along with the agreement. Read it carefully, ask your questions, and negotiate the terms and conditions if needed.
Sign the agreement.
After establishing all the details, you sign the final agreement.
Setup fee invoice.
Next, we craft an invoice for you and send it for you to examine and sign. Depending on what white-label solution your business needs, the setup fee will be different.
Pay the invoice.
Finally, the last bureaucratic step is paying the invoice. As soon as the payment goes through, our team will be ready to get started with the setup and onboarding.
Customize the system.
Now that you’ve purchased the system, you get to change its design entirely and fully brand it to match your company style guidelines. You can fully customize the logo in the admin panel, URLs of the payment system as well as the hosted payment page layout.
Go through with the onboarding.
Finally, with the system all set up and ready to go, we help our customers familiarize themselves with the platform. For it, we offer them a variety of live sessions and full technical support within the first weeks, as well as live assistance from that time on during business hours.
Get access to the Jira service desk.
To simplify the reporting system, we provide our clients with access to the Jira service desk. They can report errors or request help there as well as track the progress with already reported issues. It aims to help you stay in the loop and in control of your own processing business.
Join the technical support chat.
Besides the Jira service desk, we also add our clients to a technical support chat to speed up the process of resolving system-related technical issues. They get direct access to our tech department. Since our goal is to fully equip our clients, we act as their tech department, too, by offering access to a chat with experts ready to solve any issues they face.
Choose the connectors.
Now, at this stage, there are two scenarios.
If the connectors our clients requested are already on the list of existing integrations, we ask them to provide us with the MID information. We then register the MID in our system, set up anti-fraud modules for it, and smart routing and cascading. Finally, they can go live and start processing.
However, if the requested connectors aren’t integrated yet, then additionally to the data described above, we ask our customers to provide us with technical documentation for the connector and organize communication with the technical department on the payment solution side. The integration of a new connector takes up to three weeks.
These are the steps to becoming a payment service provider. As you see, we’ll support you along the way – and be there for you to resolve any issues. If you’re ready to give it a try, let’s get started. Please fill out this form so we can schedule a free demo for you. And then, you already know the drill!